The Zellij Web Client - Share Sessions in the Browser
2025-03-12The Zellij Web Client allows users to seamlessly share sessions between the terminal and the browser. Including built-in authentication, true multiplayer capabilities and bookmarkable persistent sessions.
This tutorial will demonstrate how to set up and use the web client locally.
The video screencast and the tutorial contain the same content.
What we’ll cover
What is the Zellij Web Client?

By default, once started, the web server will listen on http://127.0.0.1:8082. When connecting to this address, users will be greeted with the welcome-screen, allowing them to start a new session, attach to an existing one or resurrect an exited one. All from the browser.
The web server works with a URL scheme, such that following the root URL with a session-name (eg. http://127.0.0.1:8082/my-amazing-session), will:
- Start a new session by this name if it does not exist
- Attach to this session if it exists
- Resurrect this session if it has exited
This means that if we bookmark this URL, we will be able to drop back in to exactly where we left off with this particular session - even if we’ve since shut down our machine completely.
How to set it up?
The Zellij web-server comes built-in with Zellij. To start it, one can either:
- Issue the following command
zellij webfrom the CLI. - Use the
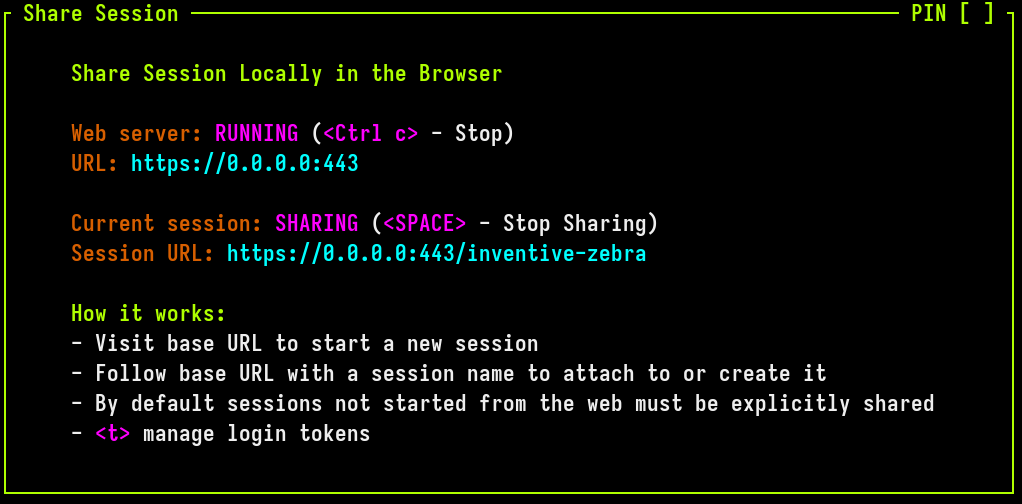
shareplugin for better control and feedback:Ctrl o+s(orCtrl g+o+sfor unlock-first). - Set up
web_server truein the Zellij configuration so that the web server is started (if it’s not running) every time Zellij is started.
For security and privacy reasons, the Zellij web server requires users be authenticated with a special token before they can log-in. To create this token, one can either:
- Issue the following command from the CLI:
zellij web --create-token - Use the
shareplugin to create and manage existing tokens:Ctrl o+s(orCtrl g+o+sfor unlock-first).
IMPORTANT: The log-in tokens will only be displayed once and can never be displayed again, so be sure to copy them to a secure location. If you lost your token, it can always be revoked using its name or index.
Once you started the web server and created a token, navigate to http://127.0.0.1:8082, enter your token (optionally checking the ‘remember me’ checkbox) and you’re all set.
Note: When working with Zellij from the browser using the web-server, it’s very much recommended one use the unlock-first keybinding preset so as to avoid keybinding collisions with the browser itself.
Setting up HTTPS (recommended!)
The above setup is great for testing out the web server, but if you’d like to work with it regularly it is recommended you create an SSL certificate to encrypt your terminal sessions. This is a hard-requirement if you’d like to share your terminal sessions beyond your local machine (eg. listening on 0.0.0.0).
To setup an SSL certificate, you can use a free tool such as mkcert. Once mkcert is installed:
- Create and install a certificate that will list all the interfaces on which you’d like the server to listen, eg.
mkcert -install localhost 127.0.0.1 0.0.0.0 192.168.1.105 - Place the created certificate and private key at a secure location on your hard-drive (eg.
~/.certs). - In the Zellij configuration point to these paths:
web_server_cert "/home/aram/.certs/localhost+3.pem"
web_server_key "/home/aram/.certs/localhost+3-key.pem"
Do you like Zellij? ❤️
Me too. So much so that I spend 100% of my time developing and maintaining it and have no other income.
Zellij will always be free and open-source. Zellij will never contain ads or collect your data.
If the tool gives you value and you are able, please consider a recurring monthly donation of 5-10$ to help me pay my bills. There are Zellij stickers in it for you!
