Stacked Resize and Pinned Floating Panes
2025-03-12This tutorial demonstrates two key features in Zellij through the use-case of terminal development: stacked resize and pinned floating panes.
You need not be a terminal developer to benefit from this tutorial.
The video screencast and the tutorial contain the same content.
What we’ll cover
- A Practical Workflow Example
- An explanation about the Mechanics of Stacked Resize
- Do you like Zellij? ❤️
The practical example uses some applications to demonstrate the utility of these features and gives them as examples, if you would like to follow along you could either use these or other applications that fit your workflow, or just open up empty terminal panes to understand the functionality.
Practical Workflow Example
Introduction
In this example, we’re going to use vim to open two files side-by-side, resize them into stacks and move them around to make more panes. In the end, we’ll also use a pinned floating pane in order to get information in real time as we’re developing.
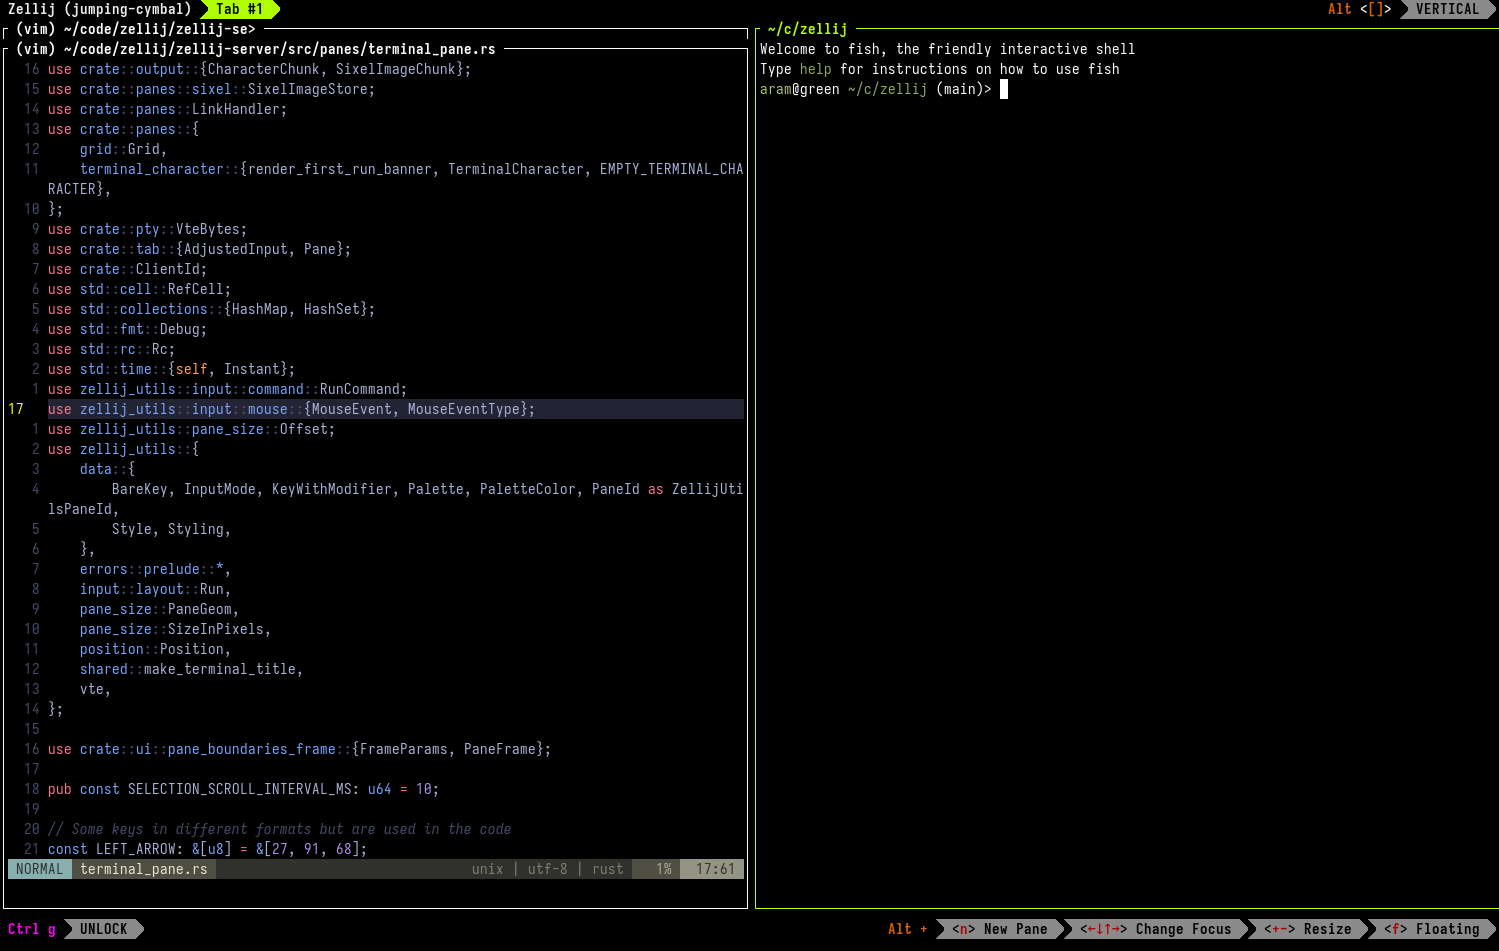
Start with two panes side-by-side
Example: vim /path/to/my-file
We then split the pane to the right with: Ctrl p + r. And in the new pane, we’ll open another file.
Example: vim /path/to/my-other-file
Resize one pane
Alt +.
The pane will be resized 30% of the screen in an available direction so long as it does not override another pane or panes completely. We’ll resize it back into its original position with Alt -.
Resize panes into a stack
Alt + twice to stack them. Once stacked, we can navigate up and down the stack with Alt <←↓↑→> (either arrow keys or hjkl).
Open new panes in the stack
Alt n. We can close these panes normally with Ctrl p + x.
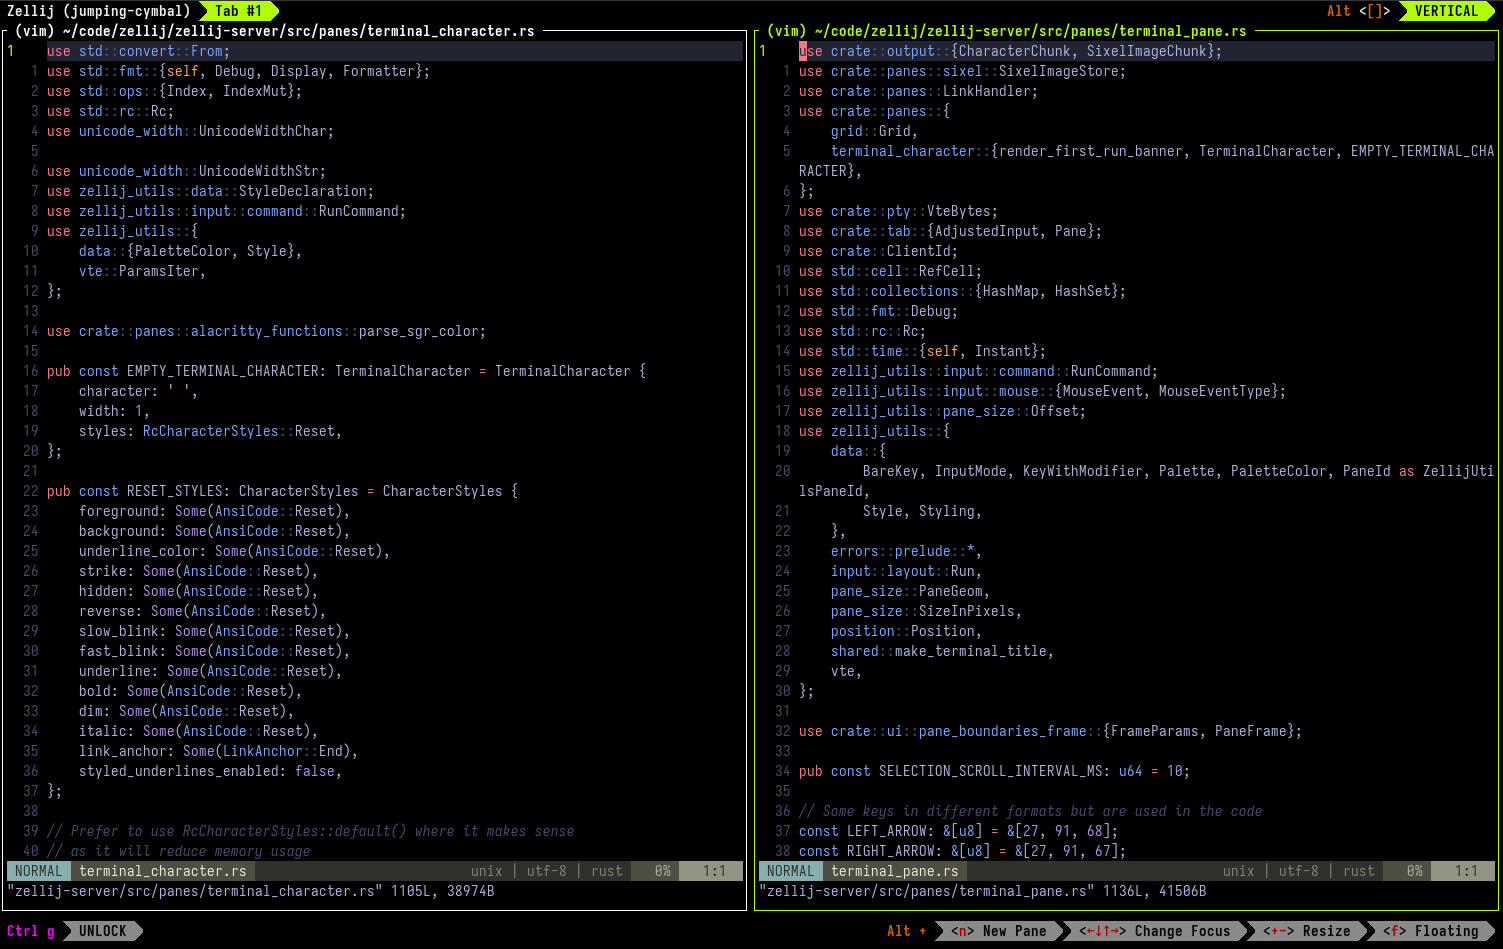
Split the stack Right
Ctrl p + r.
In this new pane, we’re going to run a new command that we can view and interact with as we’re working with the files in our stack on the left.
Example: cargo test
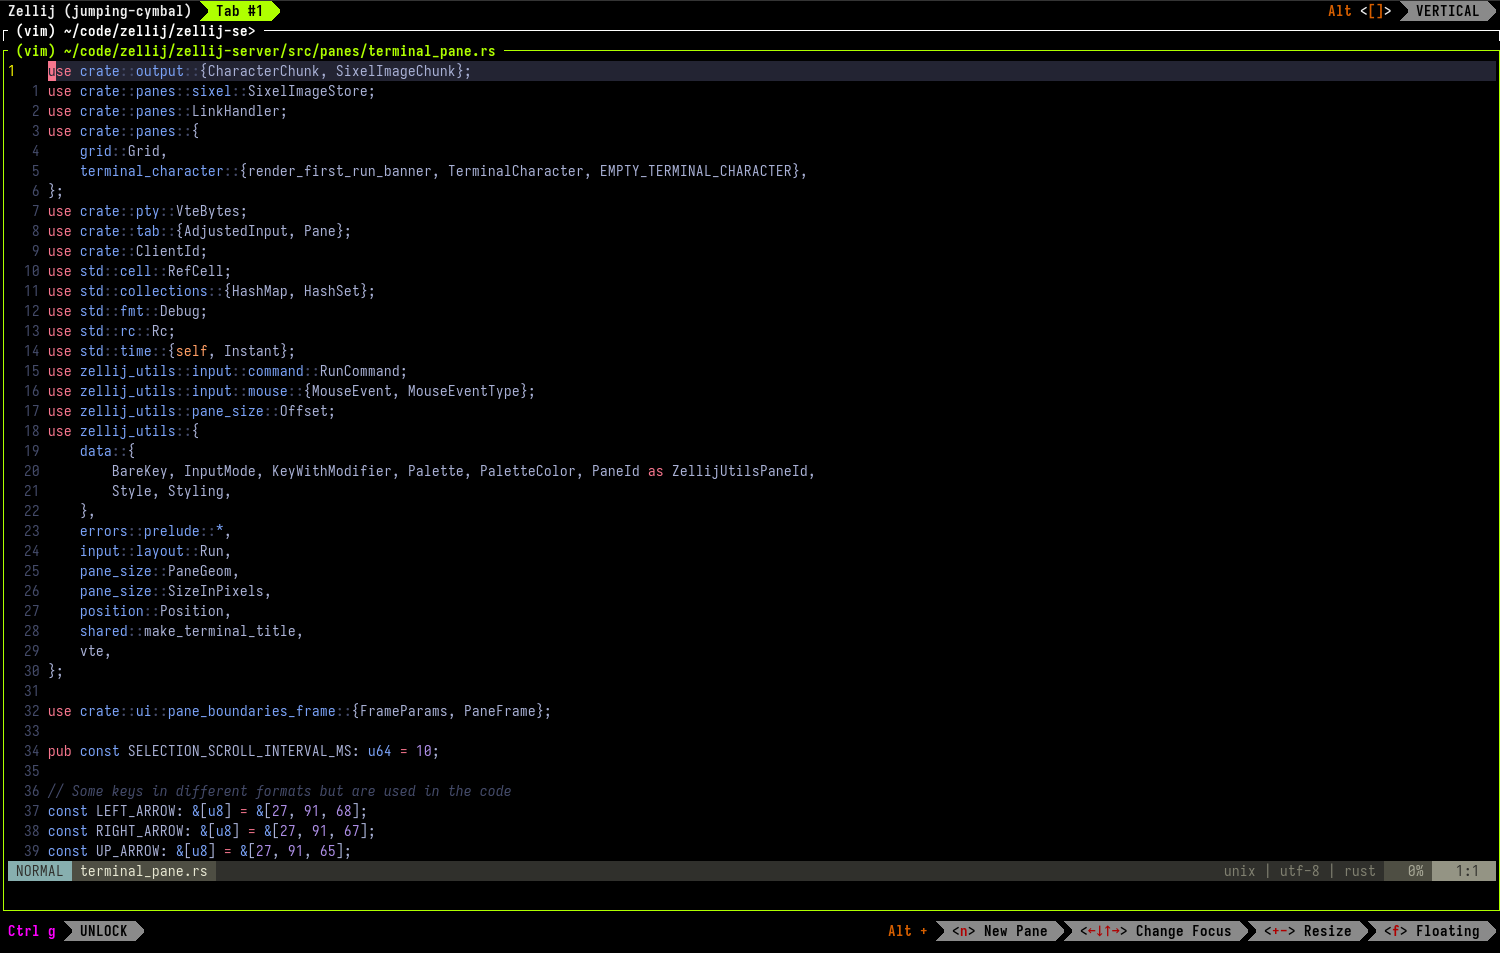
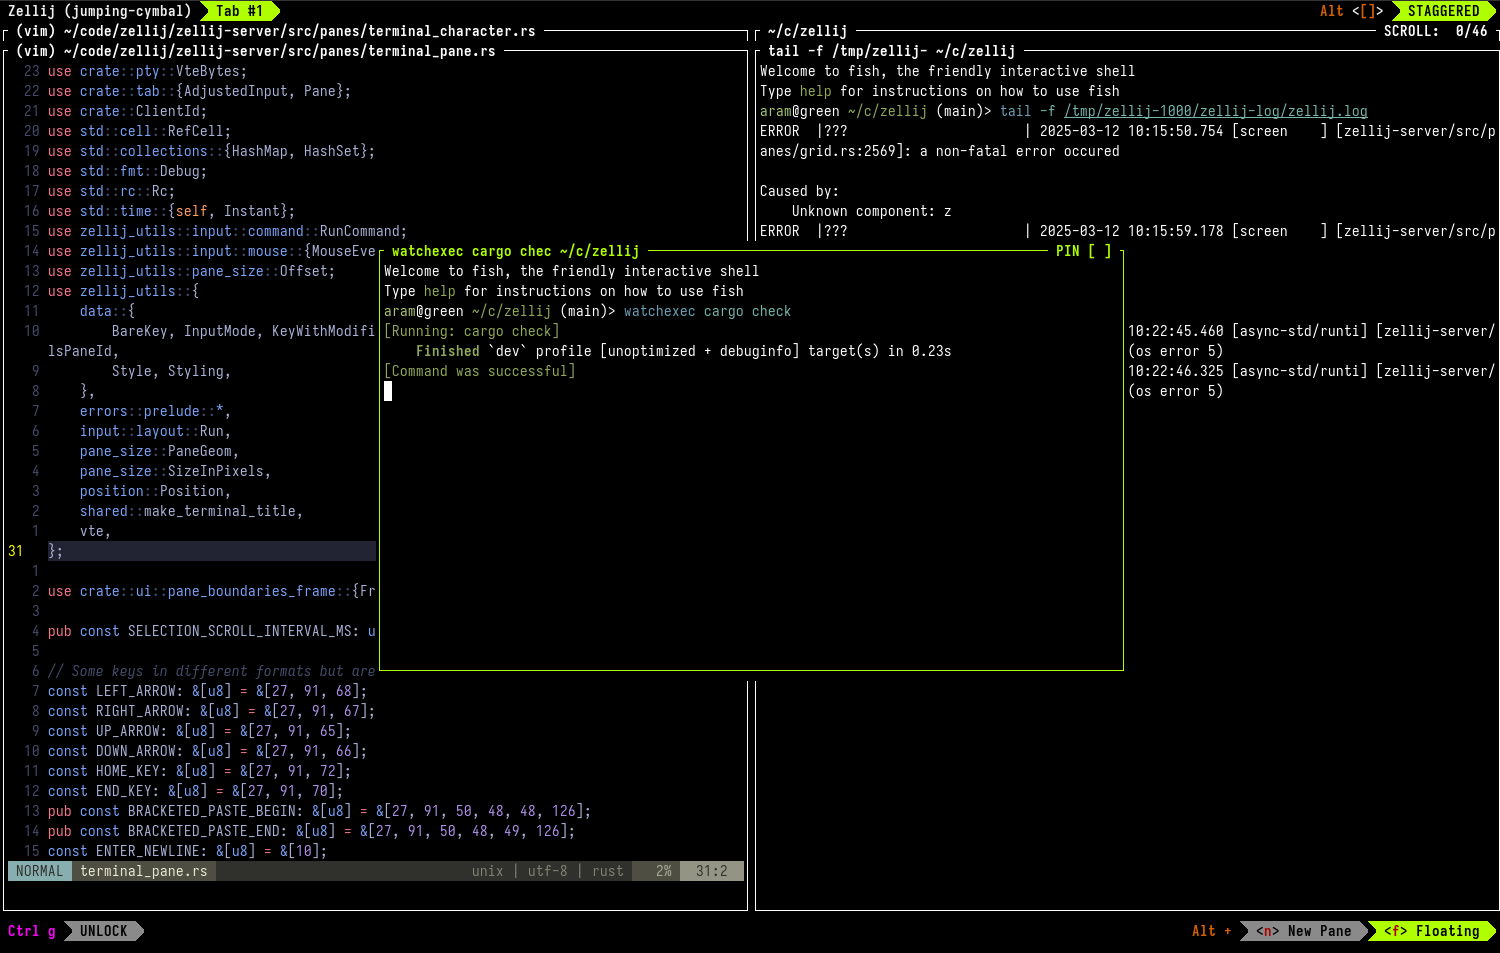
Split the new pane Down
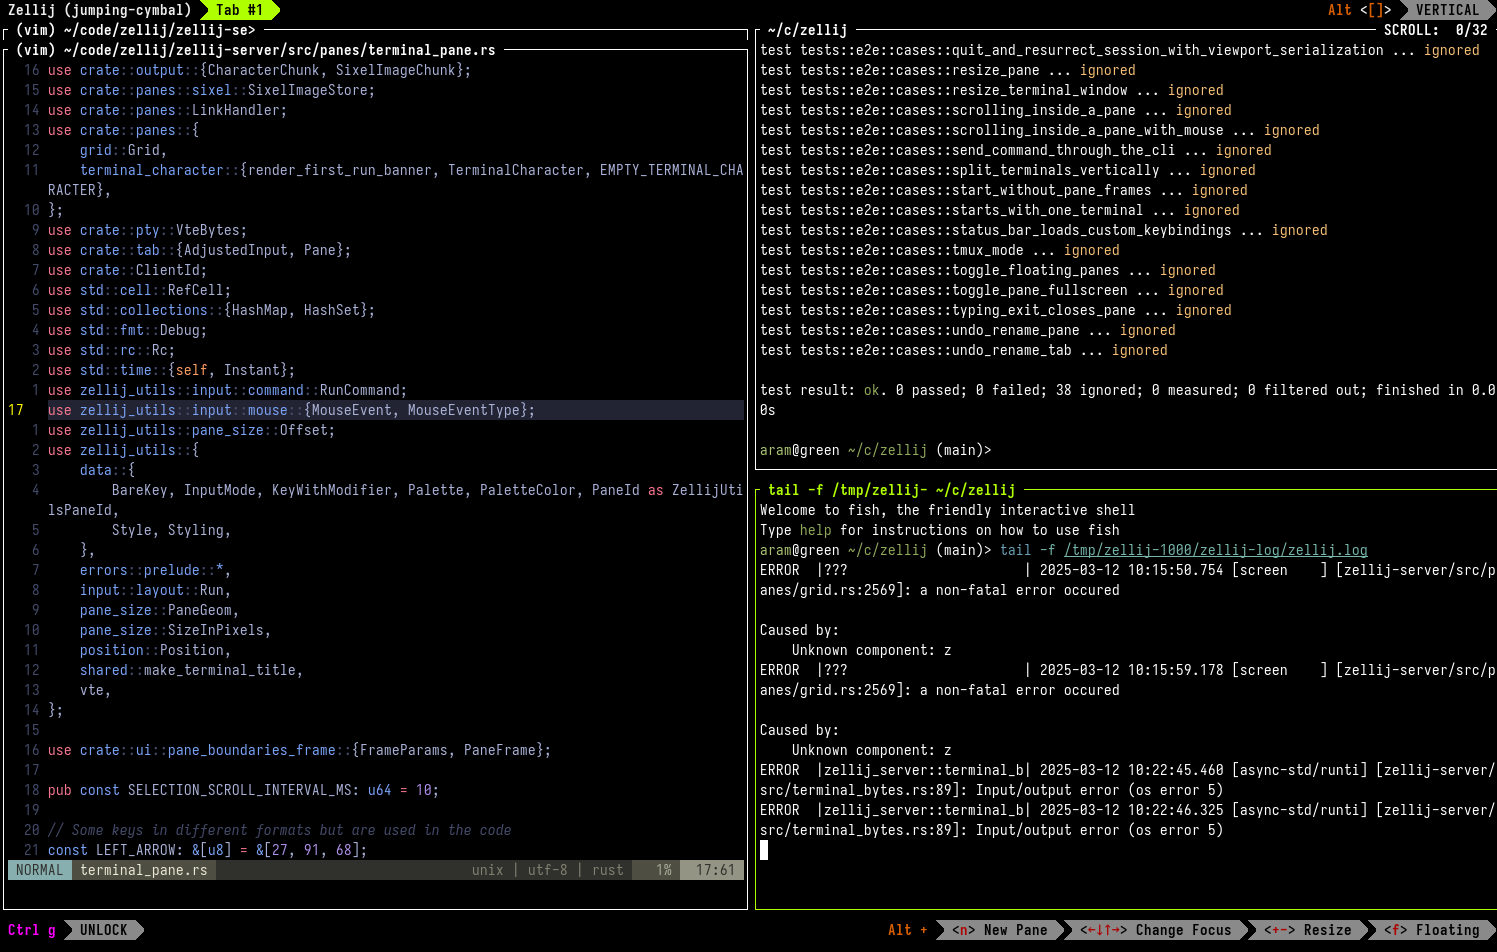
Ctrl p + d.
In this new pane, we’re going to tail a log file in order to give us information in real time as we’re developing.
Example: tail -f /path/to/my/log-file
Resize into a second stack
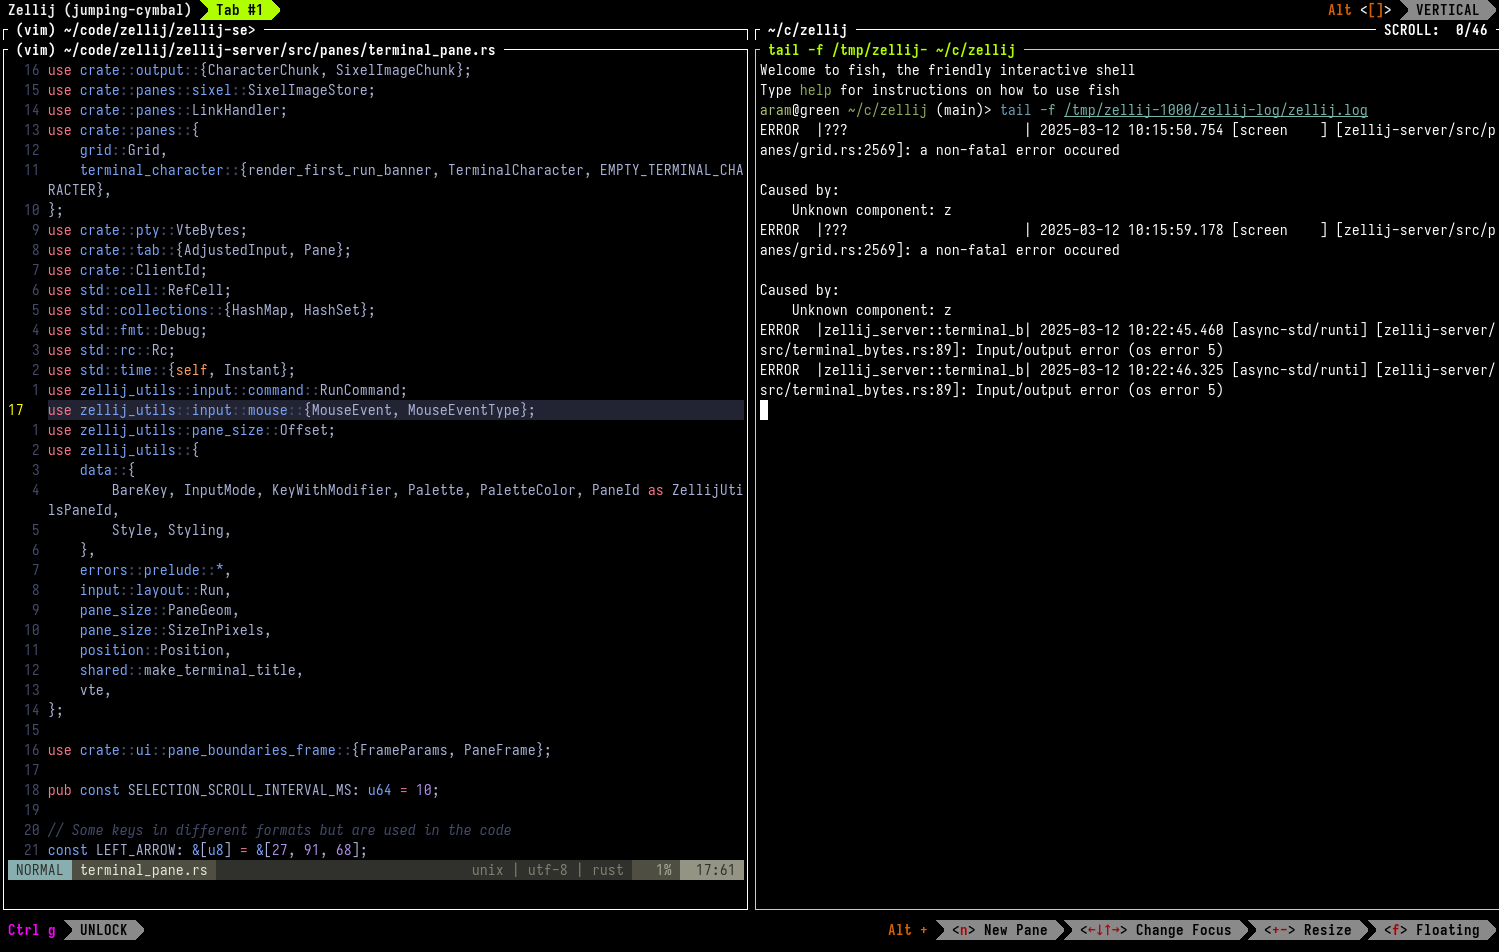
Alt + while focused on the log file pane until it stacks with the test pane.
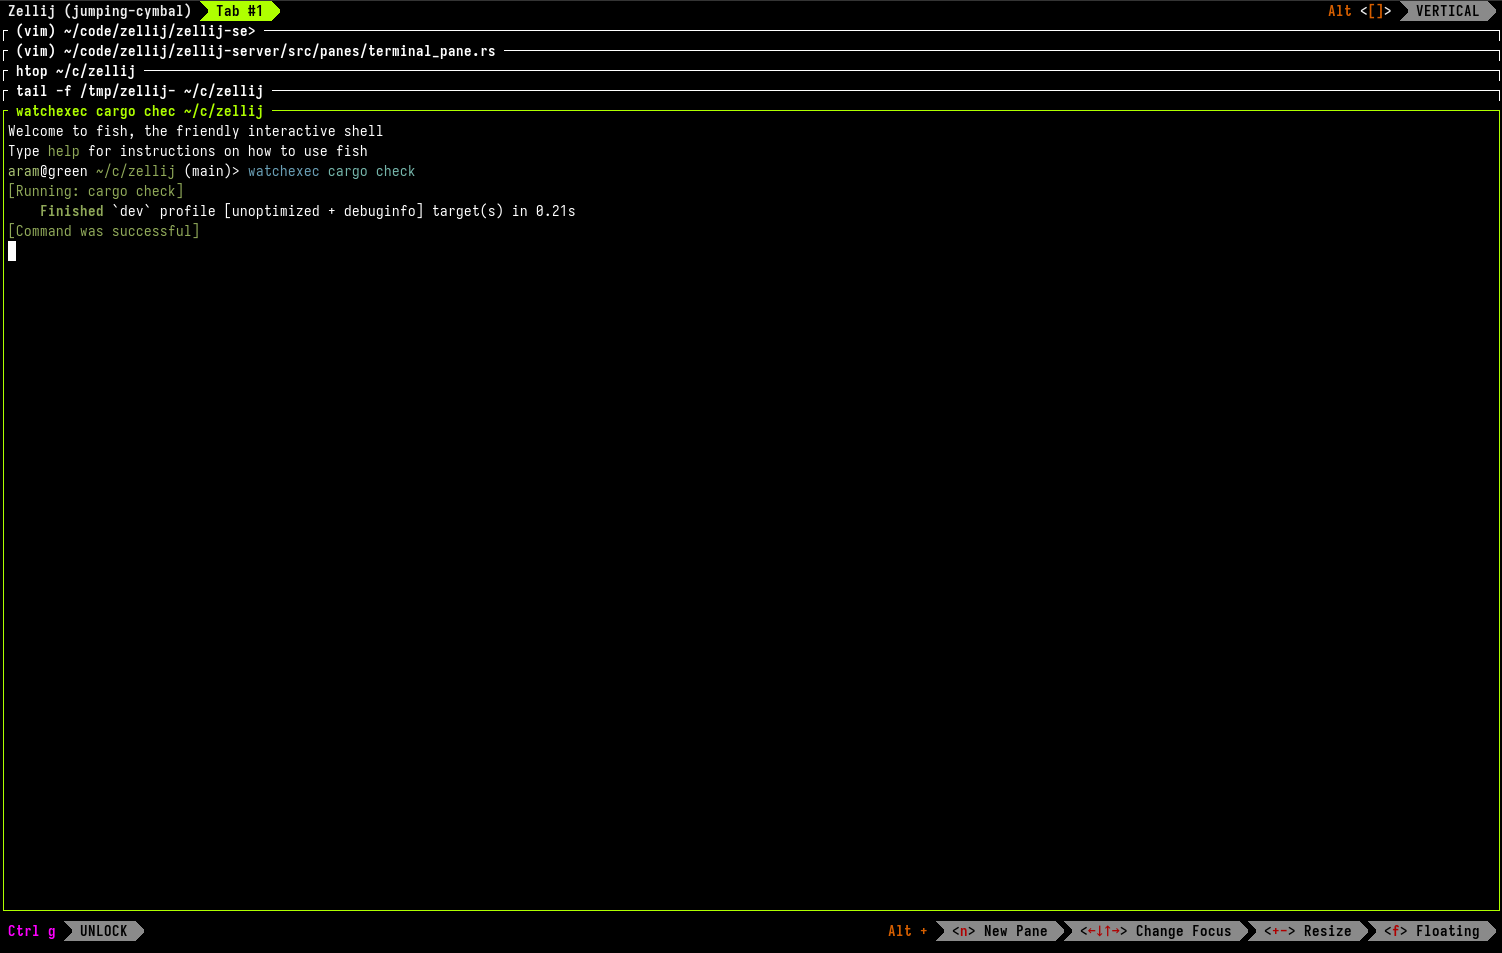
Add another pane to the second stack
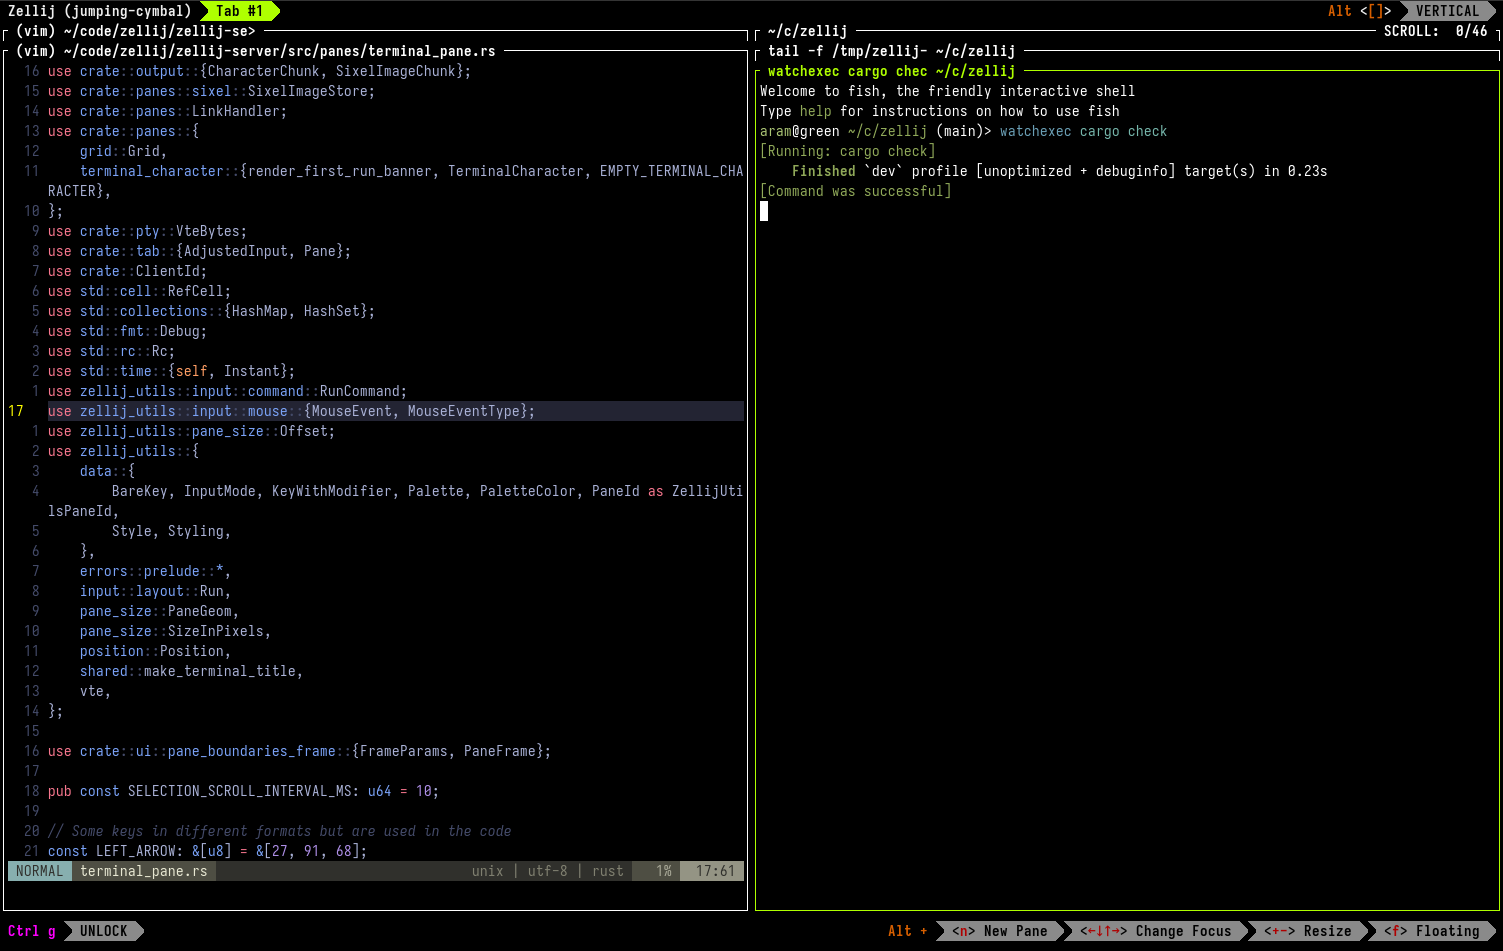
Alt n. In this new pane, we’ll run a syntax checker that will execute whenever we save a file. This will be helpful to give us more detailed errors on any syntax errors we get while editing the files in our left stack.
Example: watchexec cargo check
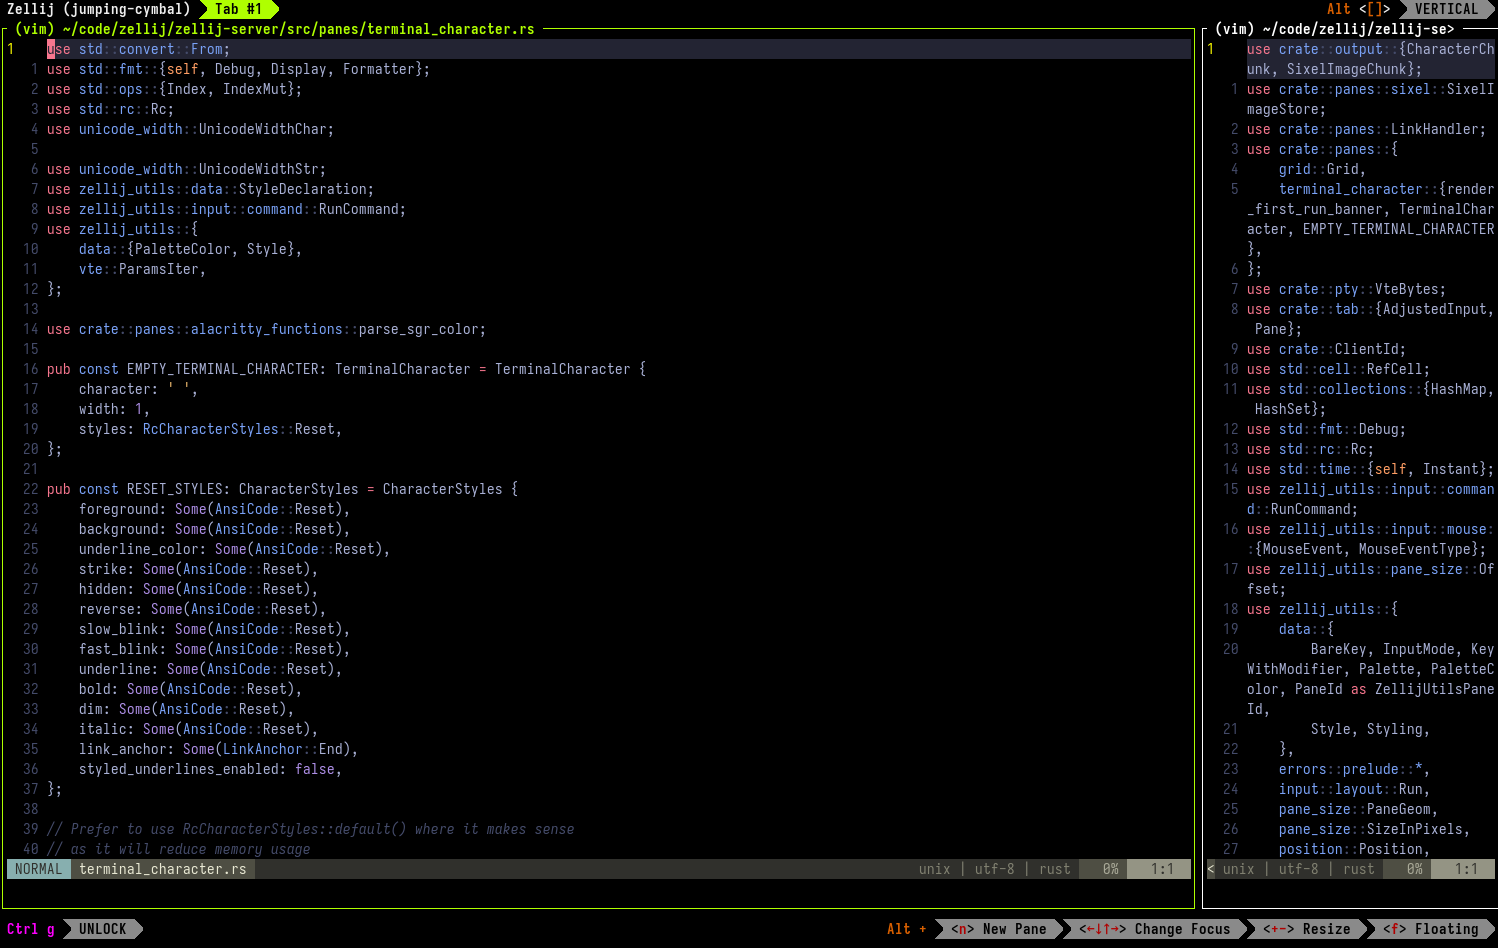
Go to the left stack and resize the stack until it’s full-screen
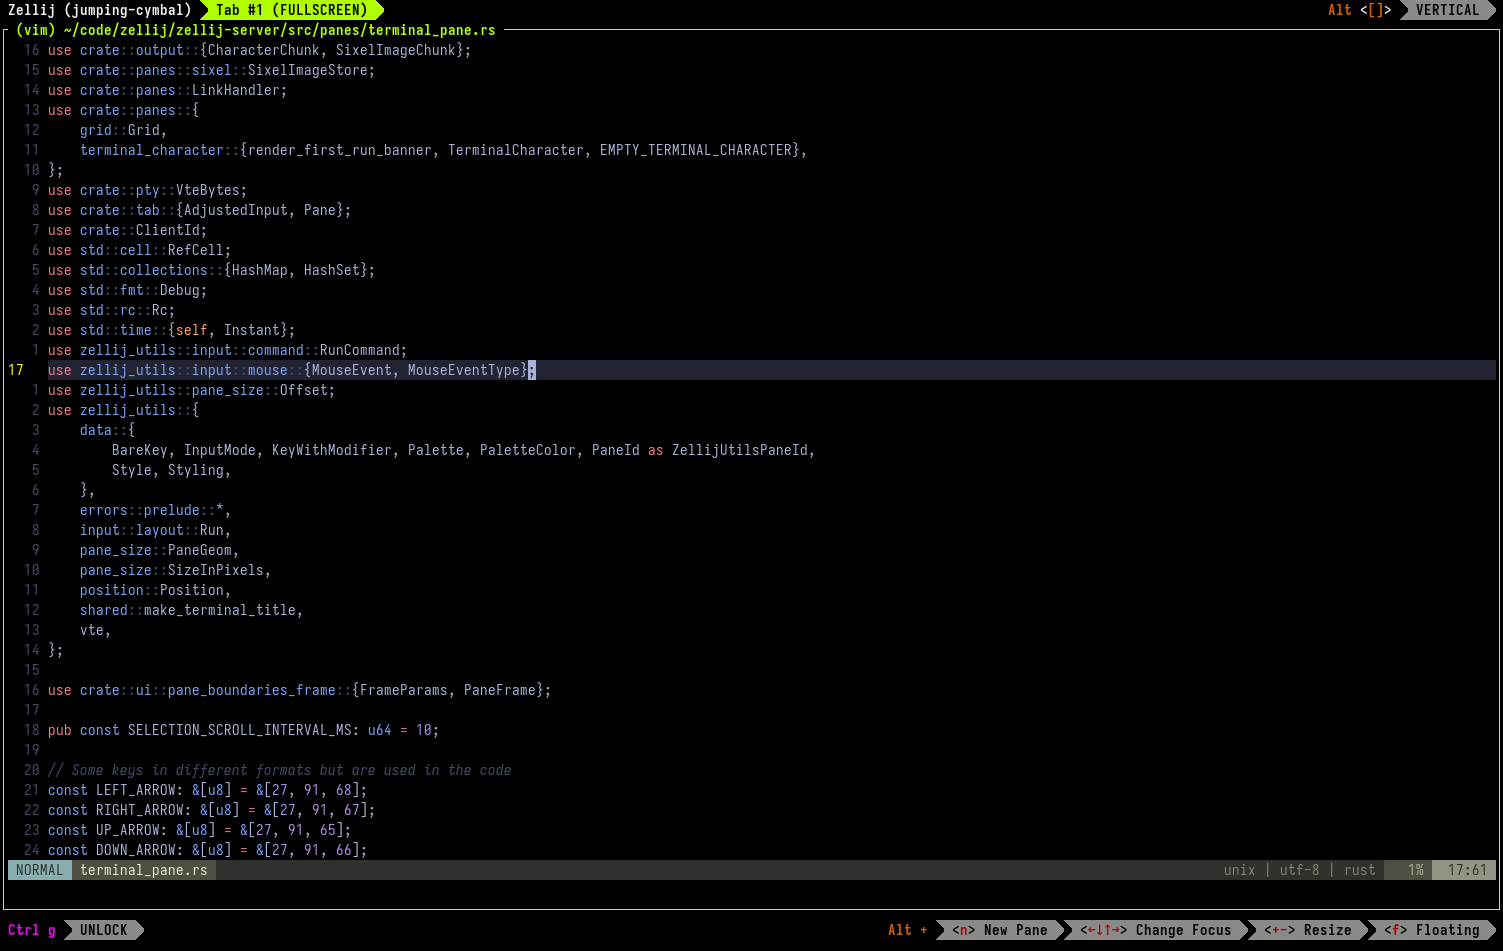
Alt <←↓↑→> (either arrow keys or hjkl) into one of the panes in the left stack and then press Alt + until it takes up the full screen.
Go back to the original state
Alt - until all of our panes appear on screen.
Eject the last pane to have access to it in the full-screen pane
watchexec cargo test pane in our example) and eject it to become a floating pane. We do this with Ctrl p + e. Once we’ve done so, we’re going to toggle off the floating panes with Alt f for a moment while we resize back to full screen.
Set the last ejected pane as Pinned so it’s always-on-top
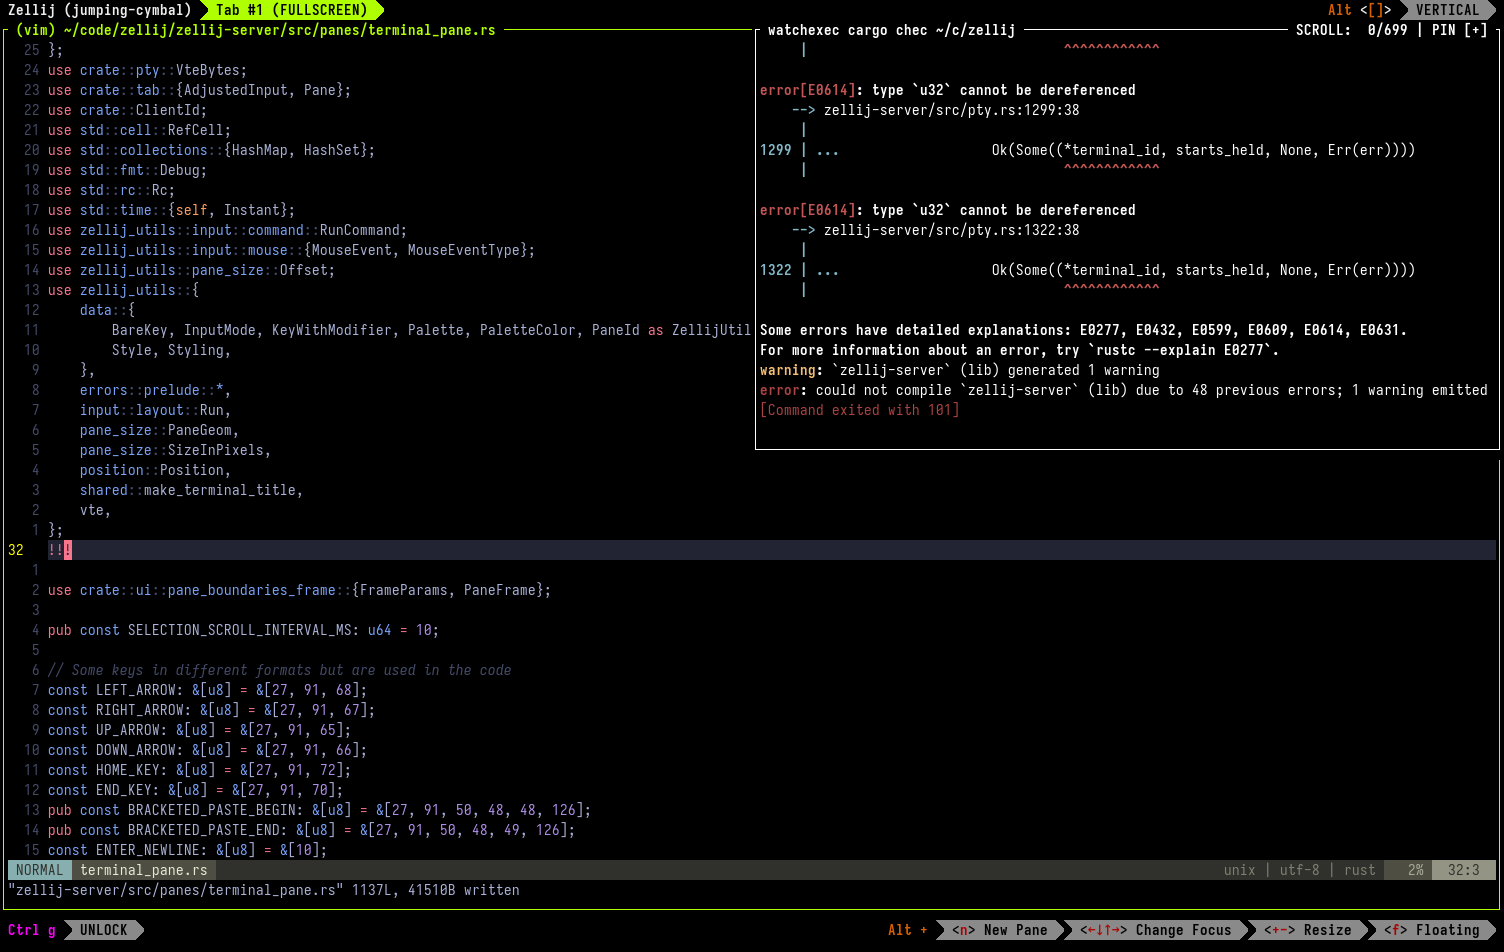
Alt + until it’s full screen again and then toggle back our syntax checker pane with Alt f.
Finally, we toggle it to become Pinned either by clicking with the mouse on its top right corner, or with Ctrl p + i. This will make it stay always on top even if we focus on the pane below it (either with Alt f or by clicking it with the mouse). If we’d like, we can drag our pinned pane out of the way with the mouse, by clicking and dragging on its frame, or with the keyboard with Ctrl h + <←↓↑→> (arrow keys or hjkl).
How stacked-resize works
In this section, we’re going to take a deeper dive into how the “stacked resize” algorithm works. Namely looking at its behavior and what can be done with it so that you’ll be able to take better advantage of it in your day-to-day workflows.
When in stacked resize mode (which is the default and can be turned off in the configuration by adding stacked_resize false), whenever we resize our focused pane with Alt + Zellij will try to increase its size by 30% of the screen in one direction. If it is not able to do this in any direction (eg. because this would mean it covers up one or more panes completely), it will try to stack this pane with adjacent panes in each direction.
The above is also true and transparent if the focused pane is already stacked, and/or if the adjacent panes are already stacked. If a stack takes up the whole screen and we increase the pane size once more with Alt +, the pane will become full-screened (similar to what would happen if we issue Ctrl p + f on any focused pane normally).
When reducing the size of panes in a stack with Alt -, Zellij will try to break the stack away from the focused pane (eg. if the focused pane is on the bottom of the stack, it will break out the top-most pane of the stack).
Zellij also remembers the previous sizes of panes on screen when resizing in this manner. Meaning that an Alt + and Alt - is essentially an “undo chain”, so long as the same pane is focused and no new panes have been added to the tab.
Let’s look at this in practice:
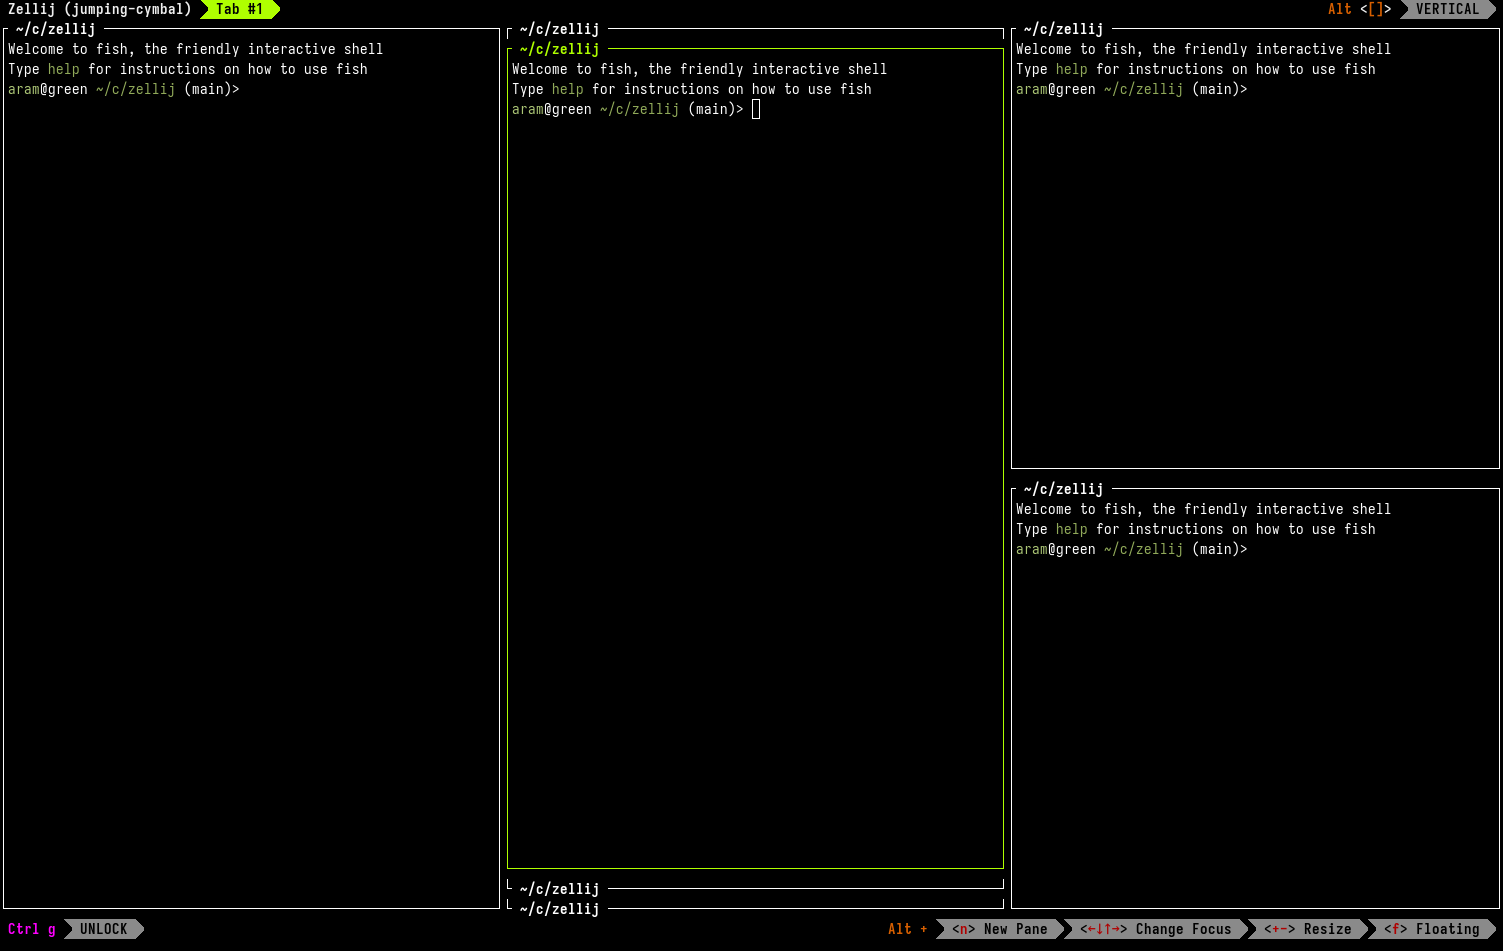
In a new tab, open 6 directionless panes
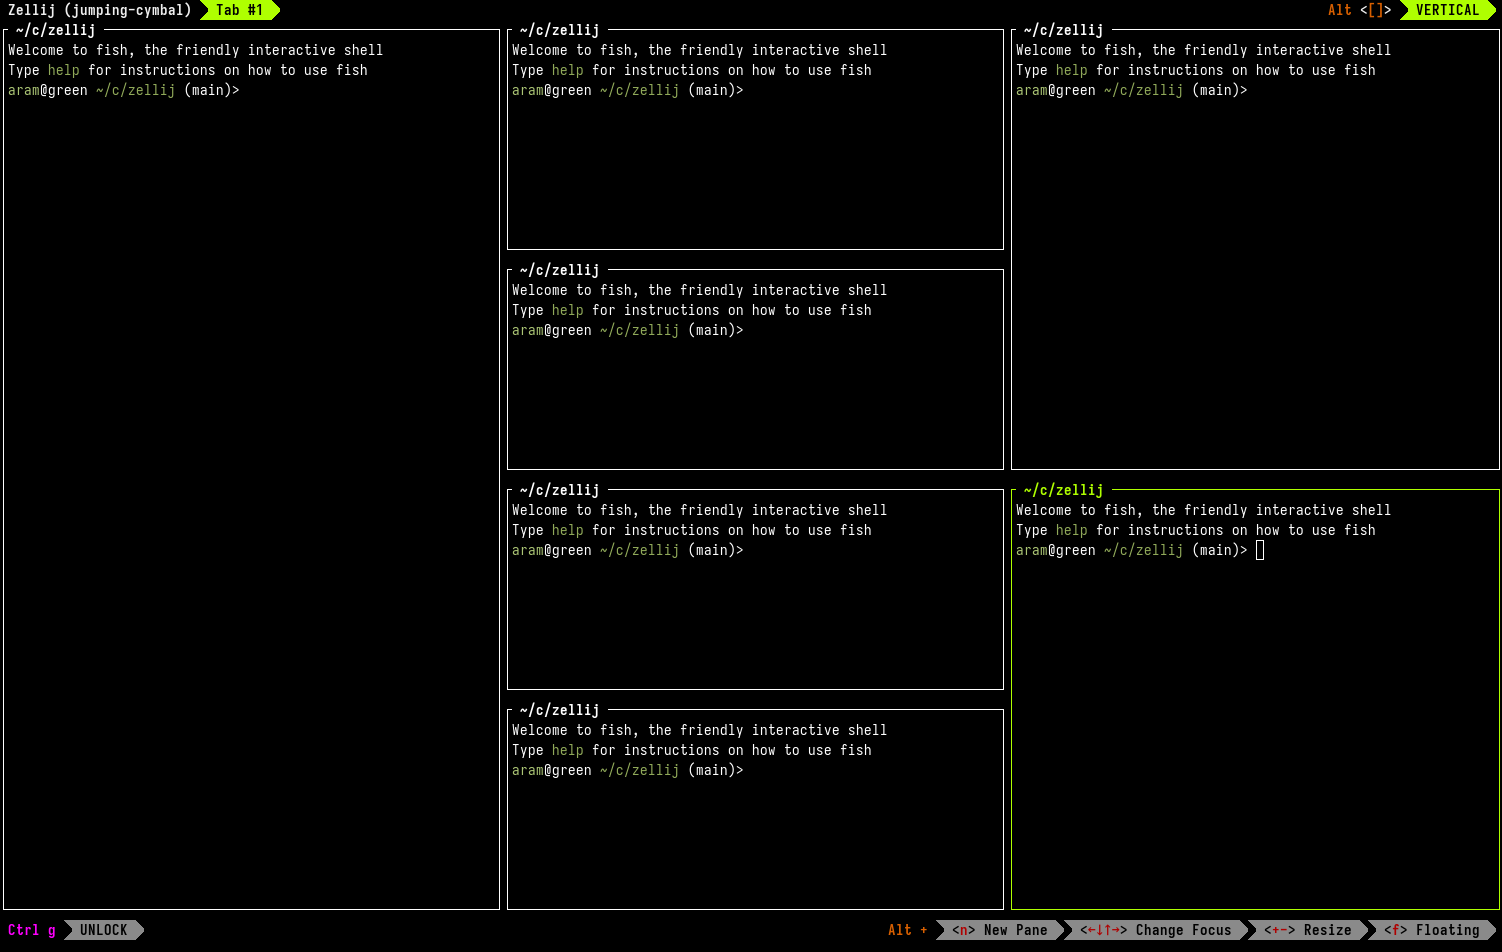
Alt n.
Note: if the panes you opened don’t look like the screenshot, try snapping them into the VERTICAL layout by pressing Alt [ one or more times
Go to the middle pane and resize it a few times
Alt <←↓↑→> (either arrow keys or hjkl), and then resize it with Alt + a few times.
Go to the middle pane and resize it until full screen
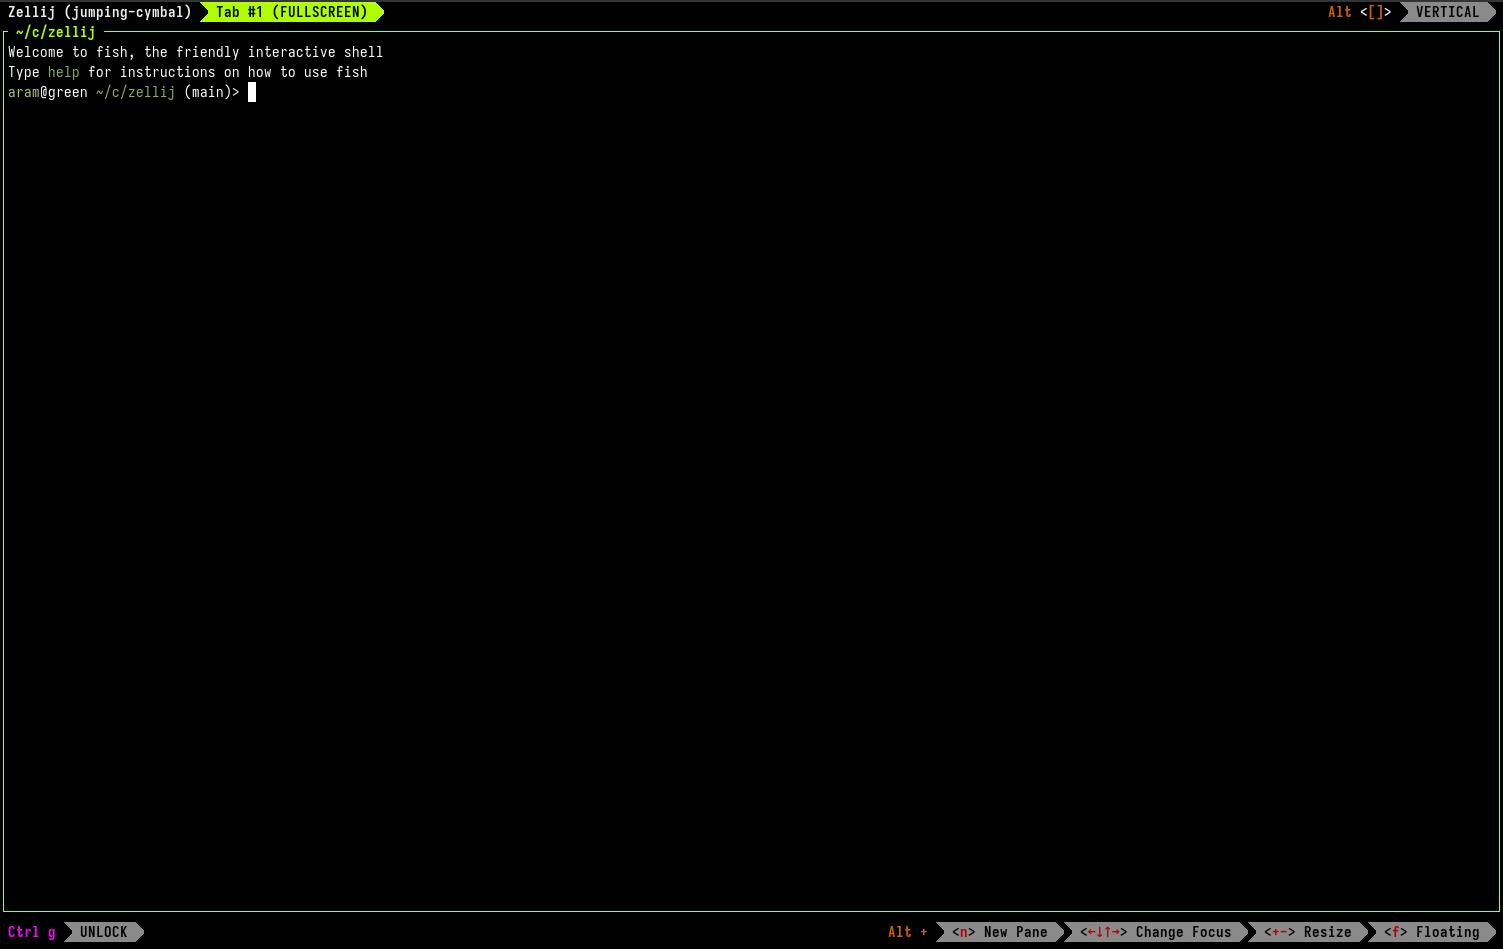
Alt + until you’ve reached the full screen.
Resize it back
Alt - until it is again in the middle of the screen. This takes advantage of the “undo chain” we described at the beginning of this session.
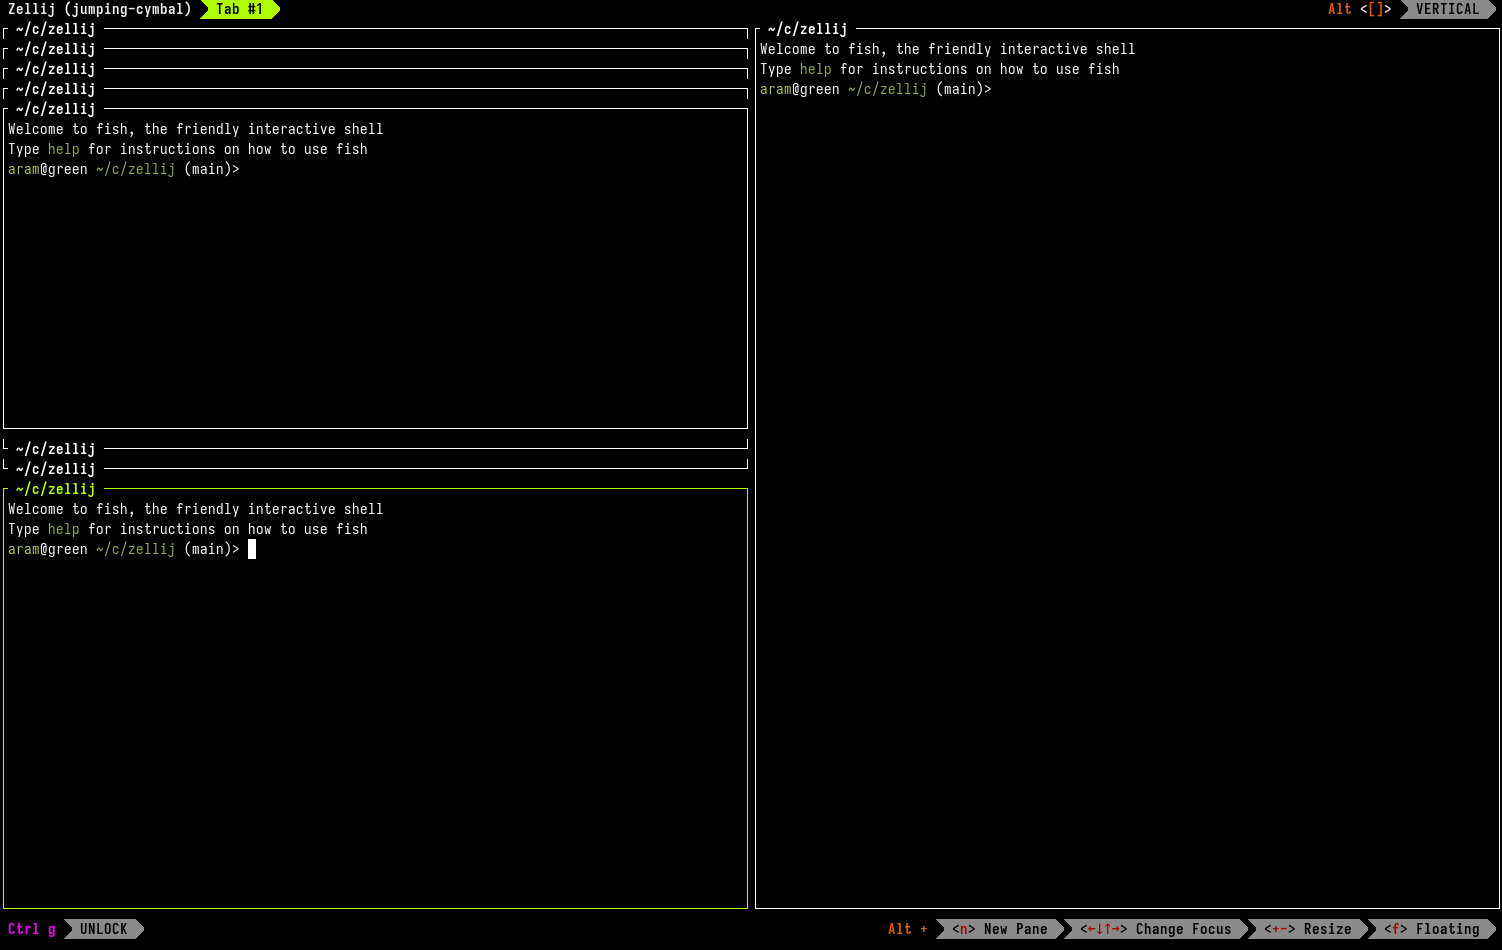
Resize it again, focus a different pane and try to resize it back

Alt +, but this time we’ll stop one resize before it hits full screen. We’ll then navigate to a different pane in the stack and hit Alt - a few times. Notice how now the stack is broken into individual panes rather than bringing us back to the original stack: we have broken the “undo chain” by focusing a different pane and resizing it.
Split the stack right

Alt + until we have one stack filling the whole screen. We can split this whole stack to the right and add a new terminal pane with Ctrl p + r.
Split the stack down
Ctrl p + d. Notice that the whole stack splits down and we get one additional pane on the bottom.
Do you like Zellij? ❤️
Me too. So much so that I spend 100% of my time developing and maintaining it and have no other income.
Zellij will always be free and open-source. Zellij will never contain ads or collect your data.
If the tool gives you value and you are able, please consider a recurring monthly donation of 5-10$ to help me pay my bills. There are Zellij stickers in it for you!